

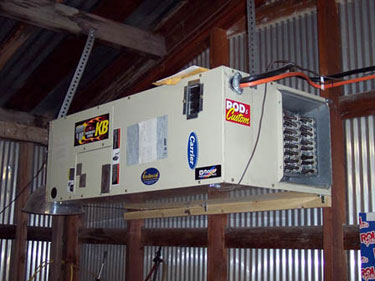
My "shop" is an old stand-alone building with no insulation. In the past I hadn't done much in the winter as it was stinking cold. This year, as winter approached I decided to add some heat so that I could do body work periodically throughout the winter months. I bought a used furnace for $50, hung it, and ran 220v to run it. Between it and my infrared curing lamp, it stays quite comfortable. I live within miles of two hydroelectric dams on the Columbia River - so electricity is cheap. (Jan 2006)
Both exterior mirrors were disassembled so that the housings and bases could be re-chromed. However, later, when I found out the cost to re-chrome these (about $280 per side) I decided to go with new reproduction mirrors which are now available in this style and the later sport teardrop style. In any case... There's nothing to non-remote mirrors - but the remote one is a little trickier.
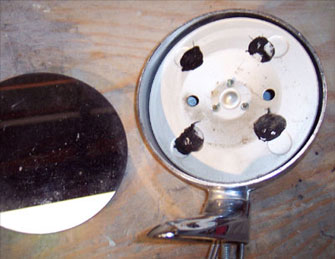
First thing I did was to gently warm the glass with a torch until the adhesive relaxed it's grip. Didn't take a whole lot, really. The glass is in tough shape, so it'll be replaced.
Next, I color coded the cables and joystick to make reassembly easier in terms of getting the cables back to their correct location for mirror control.
The control is made of pot metal so if you're not careful you'll break it. I Don't know if it really makes a difference or not but I heated each connection to (perhaps) make it more "pliable" and less brittle. Didn't seem to hurt anything.
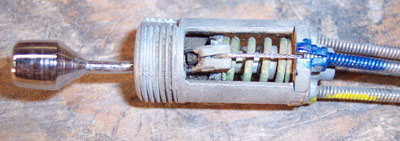
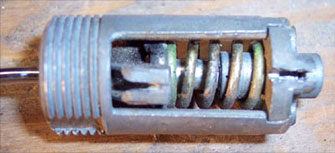
Anyway, I first pried the cable ends open slightly and simply unscrewed the cable housing.
Same routine on the cable ends - opening them just enough (the thickness of the cable) to get the end free. When it's time to reassemble I'll just reverse the process, crimping the pot-metal.
Same routine on the cable ends - opening them just enough (the thickness of the cable) to get the end free. When it's time to reassemble I'll just reverse the process, crimping the pot-metal.
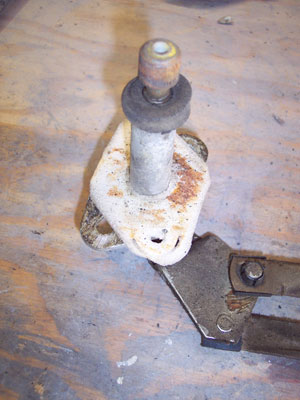
Wiper pivot leaks are a common problem on old Mopars. Though mine didn’t show any signs of leakage, they were on the resto list. Here, you can see the old seals are well worn and crusty.
Schumacher Creative Services offers a wiper pivot rebuild kit.
Schumacher Creative Services offers a wiper pivot rebuild kit.
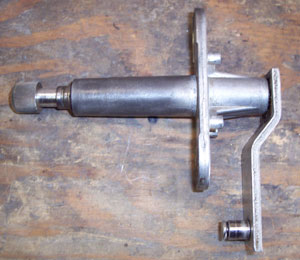
The linkage and pivots were cleaned with thinner and a wire wheel on a bench grinder...
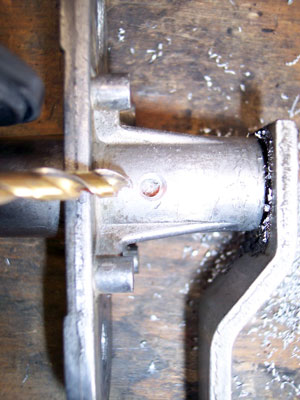
An optional step is to add a grease fitting to each of the pivots for improved lubrication, longer life, and extra insurance against leaks. I opted to do it and drilled the specified size hole. These are pot-metal castings so it doesn’t take much to drill. You’ll feel the bit break through to the pivot shaft.
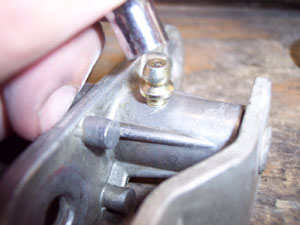
The zerk fitting is a press fit. A 1/4” socket is used to drive the fitting into the hole until it seats.
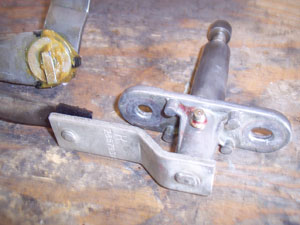
A grease gun fills the pivot with fresh grease and the other joints are cleaned and lubed.
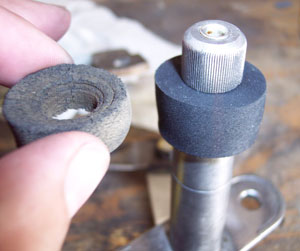
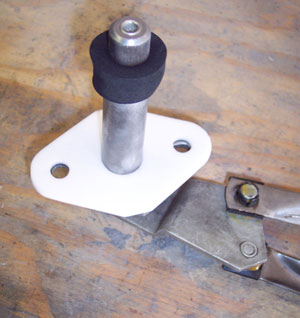
The supplied neoprene seals are then worked over the shaft with the aid of some silicone spray. They’re a tight fit so this is the trickiest part of the whole job. A white foam gasket completes the job. This is one of the fastest and easiest upgrades to do while the car is apart.
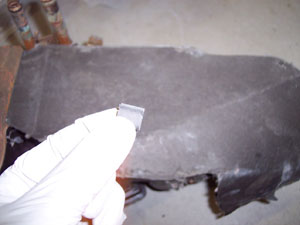
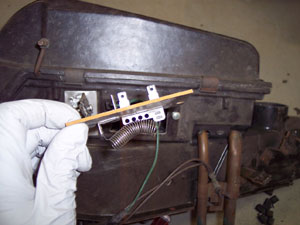
Next I moved on to a rebuild of the heater box. First I pulled the small clips from the back that hold the cardboard piece on. Don’t lose these or any of the others because they’re hard to come by. Then I pulled the blower motor resistor and set it aside. This is what gives your different fan speeds.
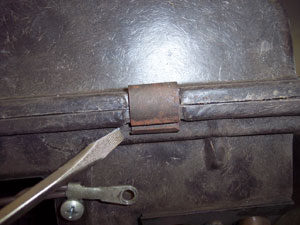
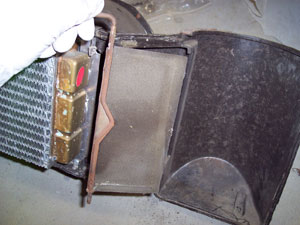
I then popped the larger clips off that hold the two halves of the box together. Once separated, the large flapper door next to the heater core lifts out.
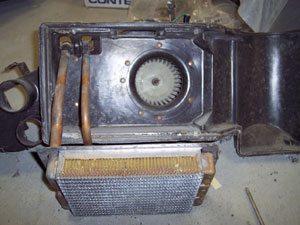
A retainer on top of the box secures the core tubes. Remove 4 screws inside the box and the core is free. Someone had been inside the box before - probably to replace the core. I later repaired two of the four screw holes inside the box as they were stripped and broken.
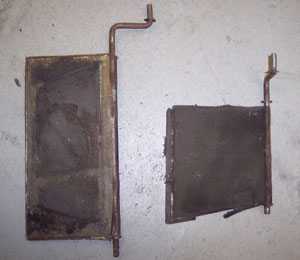
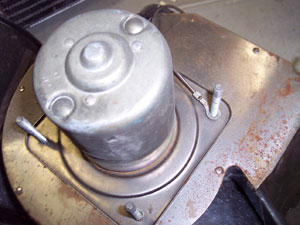
The blower motor was then removed from the back as were the remaining doors inside the box. There are 3 in all. As you can see, the foam on them had deteriorated pretty badly.
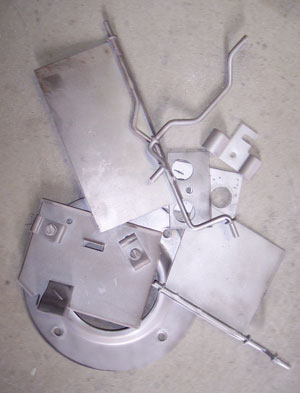
The various metal pieces were then media blasted and painted. The plastic case was also washed in soapy water then painted semi-gloss black. Resto purists won’t want to paint it because it will change the color and texture. I had some cracks to repair anyway so it got painted.
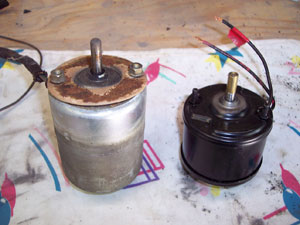
Above is a replacement motor that is shorter so as not to interfere with the 440 valve cover in the engine compartment. The only difference is it requires a small bushing in order to mount the squirrel cage. I got this from a guy who located several of them. Though they’re not intended as a replacement, they’re practically a direct bolt-in. I understand rear window defrost motors are the same size and will work too.
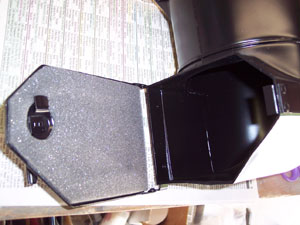
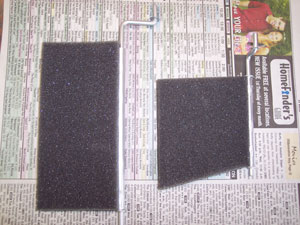
The driver side fresh air box got the same treatment. The heater box rebuild kit I got from Detroit Muscle Technologies includes all new foams, seals, gaskets, and caulk. Here, a new laser cut foam piece has been glued to the inside of the door just as it came from the factory. On the right, new foam is applied to the doors.
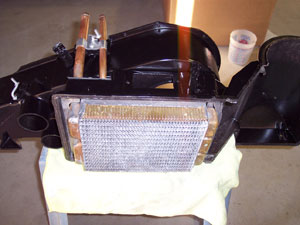
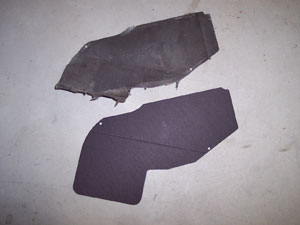
The box was then reassembled. Detroit Muscle even has the correct cardboard piece that attaches to the back side of the assembly. The original one was pretty trashed.
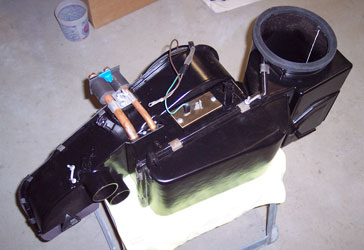
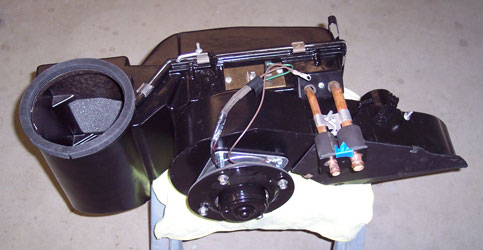
And here’s the finished assembly ready to be reinstalled.
The rear pop-out quarter windows were in fair shape. The glass in one of the windows had a lot of pitting and fog - as if it had been hit with sand at some point. Also, the plastic weatherstrips around the leading edge of the glass where it hinges inside the metal frame were rotten and just looked bad. The black flock disappears with age and the clear plastic beneatch turns white.
Rebuilding the windows isn’t too hard. First thing is to disconnect the hinge from the glass. I had to hold the round outer nut with pliers while loosening the screw. Save the gaskets.
At the top and bottom corners of the frame you’ll find a rivet. Drill them out and separate the frame. The glass will then slide out of the vertical metal frame piece. The rubber is pulled out of the curved piece.

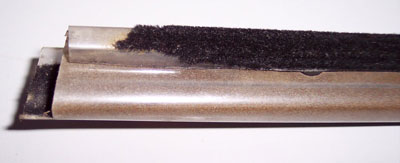
These are what the vertical “weatherstrips” look like. It’s thin plastic covered with black flock. They’re supposed to be one piece but usually come out in multiple because it gets brittle and rots in the sun.
I attempted to make some suitable replacements but failed. So, I found NOS pieces for both sides. They’re very hard to come by and very expensive. If someone could repop these they would do well as this is one of the few weatherstrips not being reproduced. While I waited for them to arrive I polished the stainless frame pieces and cleaned the rubber seals with orange hand cleaner and other chemicals to remove dirt and old overspray, and soften to them. They were in good shape and cleaned up well. Some Mothers “Back to Black” moisturized them and made them look new. These seals are available new in the aftermarket for around $100/pair.
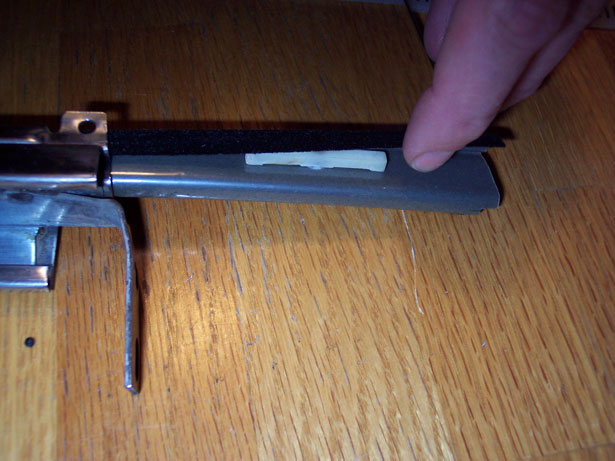
In the photo above you can see the new weatherstrip and glass going back into the frame. The white piece is part of the “hinge”. As it slides into a channel it retains the glass while allowing it to pivot. There are two hinges per window and each hinge has two pieces. Only one is visible in the picture. A metal pin connects the other half through a hole that passes through the weatherstrip and glass. These white plastic pieces appear brittle too so be careful removing them during disassembly. The metal pin will be corroded so it will be tough to get them apart. The pin joins the two pieces like a Lego and it’s a press fit.
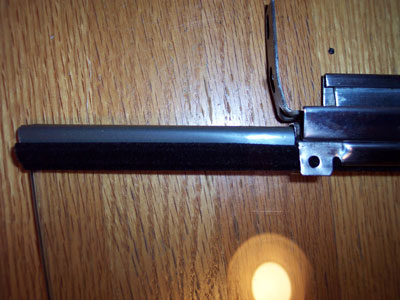
The weatherstrip and glass slide into the frame from the “top end” of the frame piece.
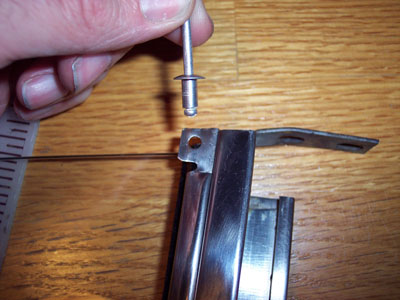
Unless you have a special rivet that passes through the frame you’ll need to use a pop-rivet on each side of the frame, top and bottom.
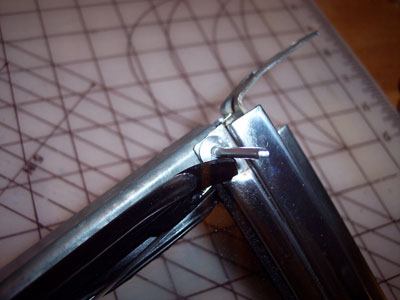
With the rubber installed on the other frame piece (some window cleaner or silicone spray will help), the frame can be reassembled. It takes some ‘fussin’ to get the holes to line up with the ends of the rubber seal where they need to be.
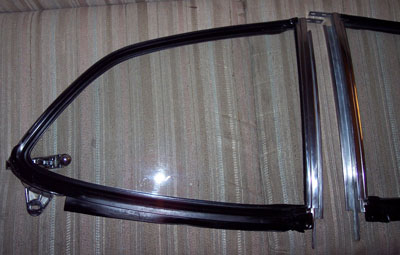
Once the frame is riveted back together you can re-attach the hinge to the glass. The hole in the glass is fairly large. I found that if I pushed it as far forward as possible while tightening the screw, I created some tension that helped hold the window more securely in the open and closed positions - something to remember if your windows won’t stay open anymore.
UPDATE: Since then, it is reported that the special "flocked" plastic weatherstrips can be purchased from Restoration Specialties - part number CHRY32230. They need to be trimmed to length for A-body's. Not cheap but way less expensive than NOS pieces (if you can find them).
 |
 |
 |
 |
 |
 |
 |
 |
 |
© 2013 JP Herrick Enterprises - All Rights Reserved
Site updated: January 2014

